
Please Note: These instructions may help you with other Windows-based DAWs like Cubase, Pro Tools, FL Studio, etc., but my main personal experience is with Reaper. You would just have to figure out where the same type of settings are in your DAW.
The below content may also contain ads for items mentioned in this post on Amazon, and if you click on any of the items and make a purchase, I may receive a small commission with no added cost to you. This helps support this blog.
Zoom R16 Multi-Track Recorder-Interface-Controller (Amazon Link)
Table of Contents
- Download and Install the Zoom R16 Driver and Reboot your computer
- Configure the Zoom R16 as an Audio Interface in Reaper
- What is an Audio Interface?
- Typical Details of An Audio Interface
- Boot the Zoom R16 into Audio Interface Mode
- Audio Interface Configuration in Reaper
- Testing the Audio Interface with Reaper: How Will You Listen to Your Mix?
- Option 1: Powered Studio Monitor Speakers
- How I Decided on Tannoys
- Turning Them On And Off
- Pros
- Cons
- Alternatives
- Please Be Aware That Tannoys Have a Hiss When Music Isn't Playing
- Use Speaker Stands!
- Option 2: Headphones and Earbuds connected to Headphone Amplifier
- Configure the Zoom R16 as a Control Surface in Reaper
- Troubleshooting
Download and Install the Zoom R16 Driver and Reboot your computer
What is a Driver?
A driver is a piece of software that allows the Operating System (Windows) and applications running on the Operating System, such as Reaper, to use a piece of hardware, whether internal or external to the computer. In Windows, the place to look at drivers is in Device Manager.
Download Zoom R16 Driver
- Before the Zoom R16 will show up in Reaper or any DAW in Windows, follow this link, and download the proper version of the driver for your Operating System: https://zoomcorp.com/en/us/digital-mixer-multi-track-recorders/multi-track-recorders/r16/r16-support/ (Will open in a new tab.) Sometimes the dates are misleading, so look for the highest version number. Alternately, you can tell which is newest by downloading each version for your Operating System, and open the R16 R24 Driver Installation Guide(Windows).pdf file and check the date at the top.
Note: Firmware Updates and User Manuals may be found in the same place. Also note: It may be best to not have the Zoom R16 attached and powered on during this step, since, sometimes Windows will detect a newly installed device, and install a generic driver for it, sometimes causing a conflict later on with the proper driver, once it is installed.)
Install Zoom R16 Driver
- Once you have downloaded the driver, unzip and run the installer. Whether or not it prompts you to reboot, be sure to save any work, close your apps, and reboot your computer.
Check It In Device Manager
- Log back in and open Device Manager:
- Click Start / Type PC / Right-Click This PC / Click Manage.
- Click Device Manager / Expand Sound, video and game controllers. (See screenshot below)
- Attach the Zoom R16 to your computer using an available USB port. (If attaching directly to a USB port, it will power on.
- If using a USB hub with power switches, press the button to power on the Zoom R16.
- Go through the Boot the Zoom R16 into Audio Interface Mode sequence.
- The ZOOM R16_R24 Audio Interface should appear (See below).

- If it shows up, it means: 1) The driver install was a success. 2) The Zoom R16 is attached and turned on.
- Typically, In Windows 10, a peripheral device like the Zoom R16 will not show up here until it is physically attached and powered on. You can prove this by powering off the Zoom R16 while watching Device Manager, and it will disappear. Power it back on and it will reappear.
- The ZOOM R16_R24 Audio Interface should appear (See below).
Configure the Zoom R16 as an Audio Interface in Reaper
What is an Audio Interface?
An Audio Interface provides the means to record instruments and microphones on a computer.
Typical Details of An Audio Interface
- Connects to the computer by USB Cable.
- Has input and output jacks.
- Has volume controls.
- Configurable in DAWs like Reaper, Pro Tools, etc..
- In the case of the Zoom R16, it has the capability to directly plug in speakers and headphones, making it act as an external sound card of sorts, controlled by the DAW and Windows.
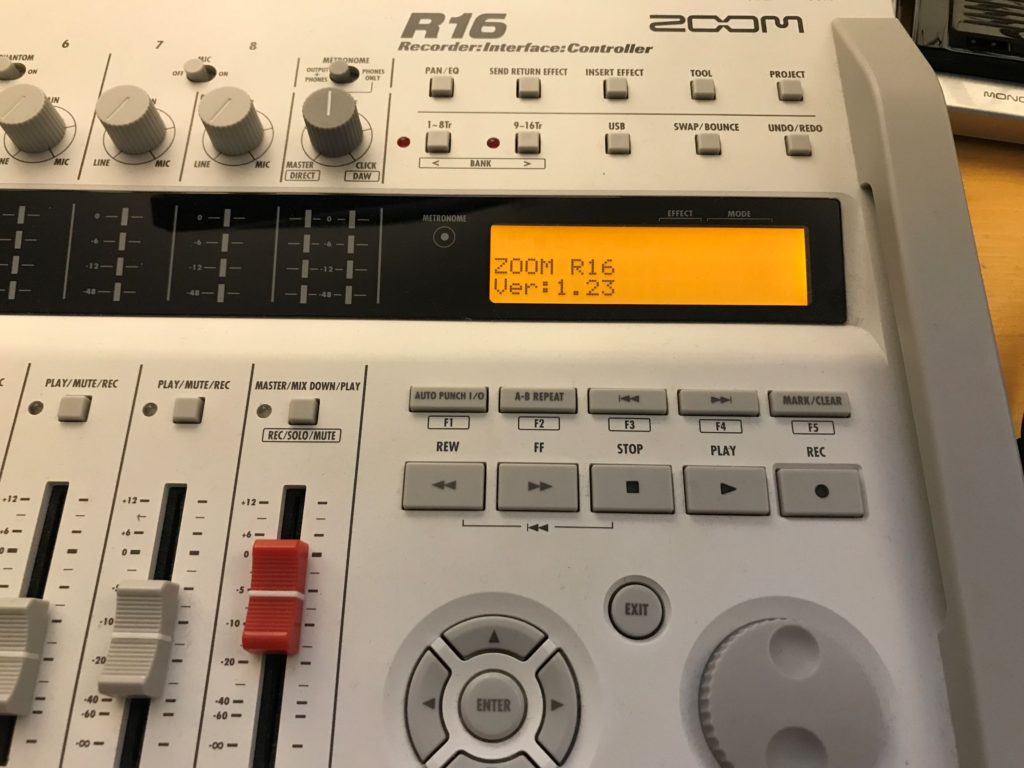
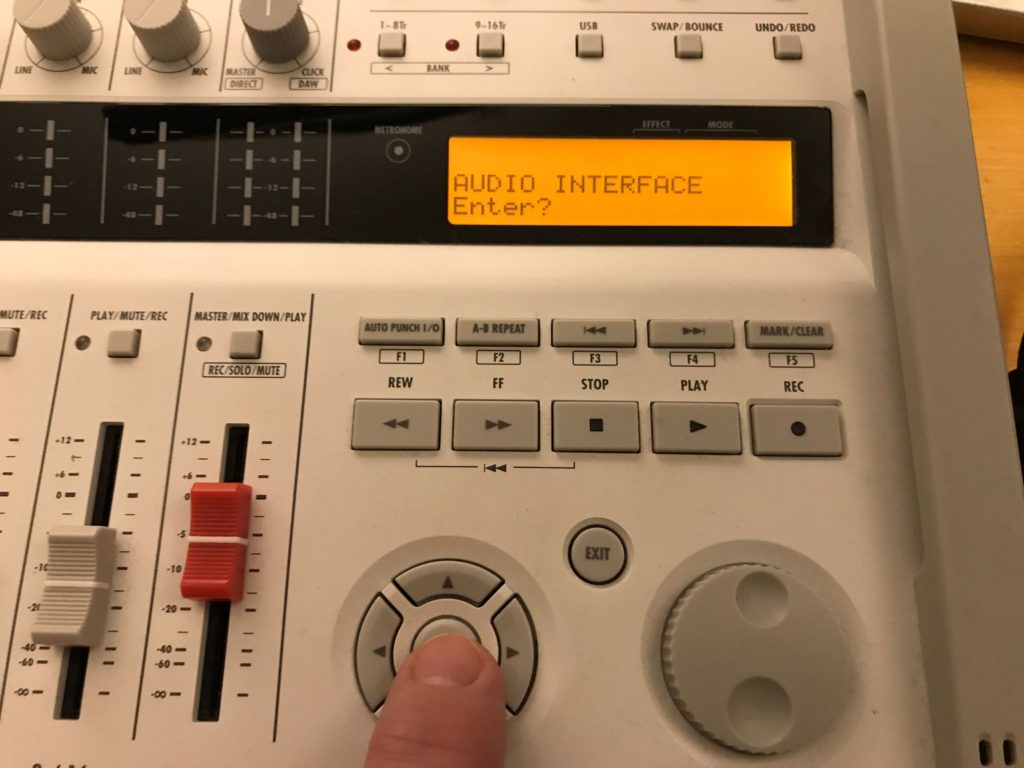
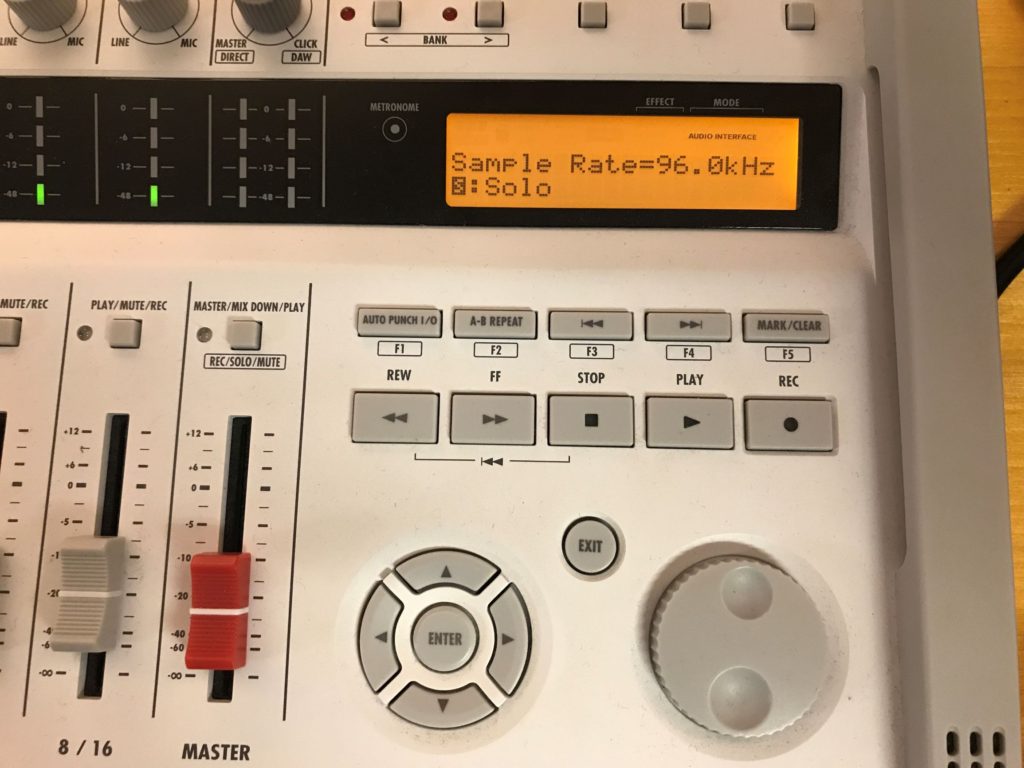
Boot the Zoom R16 into Audio Interface Mode
- Turn on the Zoom R16 and boot it all the way up (Sequence is below)
Sabrent 4-Port USB 3.0 Hub (Amazon Link)

Audio Interface Configuration in Reaper
To check out Reaper Digital Audio Workstation, check out their website here: Reaper Digital Audio Workstation (Will open in new tab)
- Open Reaper.
- Options / Preferences (Ctrl + P)
- Audio / Device.
- Make the following setting changes:
- Audio system: ASIO
- ASIO Driver: ASIO4ALL
- You may notice that under ASIO Driver, that there is an option for ZOOM R16_R24 ASIO Driver. That is listed because you installed the driver for the Zoom R16 earlier. You don’t have to use this driver just because it’s there. I haven’t had luck using that one, so I recommend using the ASIO4ALL driver instead.
- The rest of the settings should look like this:
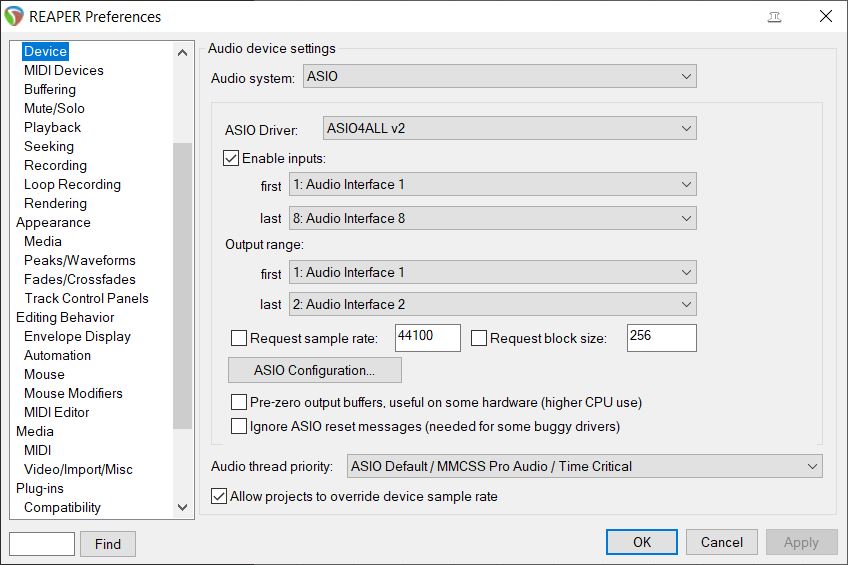
- Notice that under Enable inputs, it picked up on the first input as being “Audio Interface 1” and the last input being “Audio Interface 8”. Likewise, under Output range, it picked up on first output as “Audio Interface 1” and the last as being “Audio Interface 2”. That’s a visual way I’ve learned to quickly tell if the Zoom R16 is going to work in Reaper.
- Click OK.
Testing the Audio Interface with Reaper: How Will You Listen to Your Mix?
Option 1: Powered Studio Monitor Speakers
Tannoy Reveal 802 Studio Monitor Speakers (Amazon Link)
- You are now able to plug in a pair of powered studio monitor speakers. I personally use a pair of Tannoy Reveal 802 Studio Monitors using a set of balanced TRS 1/4″ cables I bought at Guitar Center to the 1/4″ input jacks on the back of the Zoom R16. These can be emaasily found on Amazon. The one I list here is for 1 cable, so remember to buy 2 if you like these.
How I Decided on Tannoys
- A friend recommended I check out Tannoys since he had a smaller pair he said sounded good for mixing purposes. I listened to a smaller pair at Guitar Center, and compared them with KRK and other brands, but liked the Tannoys so I bought a pair off of a seller on Amazon. The picture above is a clickable link to a current Amazon listing.
Turning Them On And Off
BN-LINK Mini Wireless Remote Control Outlet Switch (Amazon Link)
- To turn my Tannoys on and off, I use some Smart Electrician remote control outlets due to a simple reason:
- (I’m providing a link to a similar product, since the ones I bought aren’t available on Amazon.)
Pros
- When I first bought the Tannoys, it became very tedious to reach around the back of each speaker and flip the on/off switch whenever turning them on or off. The third one in my studio turns my Alesis D4 drum brain on and off.
- When I bought them from Menards on sale for only $8.00 per 3-pack, I actually didn’t know what I would use them for, but soon connected the dots. Now, I grab the little white remote (great since you can find the remote in low light) and control them easily. Yes, I realize that there are smart outlets now which you can control with your phone or your voice, but I like these with the little white remote.
Cons
- Some of the reviews on Amazon are negative, but as one reviewer stated, you need to make sure you have fresh CR2032 batteries installed for them to work properly. Maybe they bought ones that had sat on the shelf too long and the batteries were kaput. I have 3 sets in different areas, and they work great! Well, at least I’m planting an idea in your head about using remotes with studio equipment that isn’t convenient to turn on and off! There are many alternatives on Amazon, some with much better reviews.
Alternatives
- There are plenty of other options for remote control outlets on Amazon and elsewhere, so don’t focus on these if this idea interests you! I’m sure there are some Alexa controlled ones that would do the trick.
Please Be Aware That Tannoys Have a Hiss When Music Isn’t Playing
- It’s true that there is an audible hiss. Once you start playing audio though, it’s not noticeable. I just don’t want someone to buy these and not be happy with them. Looks like Guitar Center carries them. The current listing on Amazon isn’t what it was a few years back when I bought mine, so for this item, if interested, I would recommend:
- Go somewhere that you can listen to a variety of studio monitor speakers in person, hopefully in a quiet enough environment to tell if there is a hiss, and if so, if it will actually bother you.
Use Speaker Stands!
Ultimate Support JamStand Speaker Stands (Amazon Link )
These are best used on speaker stands like these Ultimate Support JS-MS70 JamStands, to keep vibrations off of your studio desk. This is important for mixing bass. I have an electric sit-stand desk, and I set these at a height that is great for mixing while standing, but works fine while sitting and mixing. I don’t need to move them up and down. They’re big and heavy, so that wouldn’t be easy to do.
Option 2: Headphones and Earbuds connected to Headphone Amplifier
- A headphone amplifier, like the Sterling S204HA (Amazon Link), which can allow you to plug in up to 4 pairs of headphones or wired earbuds.
- I use CAD Audio MH310 Closed-Back Studio Headphones (Amazon Link) and Skullcandy Ink’d+ In-Ear Wired Earbuds (Amazon Link). The CAD headphones can get hot if wearing for several hours, and may seem a bit tight at first due to the springy metal pieces that hold the left and right earpieces together. I got used to them. They sound good for mixing IMHO. The Skullcandy earbuds are also good for mixing, including having adequate bass.
- This helps in reproducing various listening environments when mixing. It particularly helps when mixing bass. I’ve rescued mixes where I didn’t realize the low end was weak until I listened in earbuds.
- Having multiple headphone options always plugged in and ready saves precious time. If recording with other musicians, up to 4 sets of headphones or earbuds may be listened to with individual volume levels.
- Note: They will all be listening to the same mix, just at their chosen volume. This is important to note, since fancier, more costly solutions may include options for each performer to have a sub-mix tailored to their needs.
- You should now hear audio you are inputting into the Zoom R16 over the studio monitors or headphones. Whichever you are listening to.
- Newbies to recording: For any tracks you’re testing with a microphone, be sure to select headphones instead of studio monitor speakers to avoid feedback.
- Hints:
- To select headphones, turn on the headphone amp and the volume control of the headphones you’re using.
- To select studio monitor speakers, simply turn them on, and adjust their volume using the knob on the back of the Zoom R16 as needed. Other volume adjustments will be made in Reaper, mainly by adjusting the MASTER volume control to set the overall volume.
Configure the Zoom R16 as a Control Surface in Reaper
What is a Control Surface?
Control Surfaces come in different shapes and sizes. Additionally, their functions also vary a lot. They can be mixer boards, electronic DJ equipment with turntables and volume controls, boxes with transport controls (REW / FF / STOP / PLAY / REC).
Tablets and phones can even act as control surfaces if compatible apps are installed on them, as long as they’re configured to work with a DAW like Reaper.
In the case of the Zoom R16, its Control Surface features include Play / Mute / Rec buttons and Volume sliders on each of its tracks. Also, the transport controls I mentioned earlier. You may also turn the big knob to move the play cursor vertical line back and forth.
Control Surface Configuration in Reaper
- Open Reaper
- Options / Preferences (Ctrl + P)
- Control/OSC/web.
- Add.
- Mackey seems to be an industry standard. Ultimately, you need to select Mackey Control Universal for the Zoom R16 to work as a Control Surface in Reaper.
- For Control Surface Mode, select Mackey Control Universal.
- MIDI input: ZOOM R16_R24 ASIO Audio Interface
- MIDI output: ZOOM R16_R24 ASIO Audio Interface
- Click OK twice.
Testing the Control Surface in Reaper
- To test it out, in a new or existing Reaper project, make sure the master track is showing.
- Right-click in the area on the left where the track controls are.
- Check Show master track. (or Ctrl+Alt+M)
- Move the red MASTER volume slider on the Zoom R16 while watching the MASTER track in Reaper.
- You should see the slider moving around on the screen.
- Hit the PLAY button and your project should start playing.
- Hit the STOP button.
- Explore which controls do what.
- Have fun using your Zoom R16!
Troubleshooting
Check out this other post for troubleshooting steps if your Zoom R16 isn’t working properly as an Audio Interface or Control Surface here: Zoom R16 – Troubleshooting in Reaper on Windows (Will open in a new tab.)
Very good notes on setting up the Zoom R16 with Reaper.
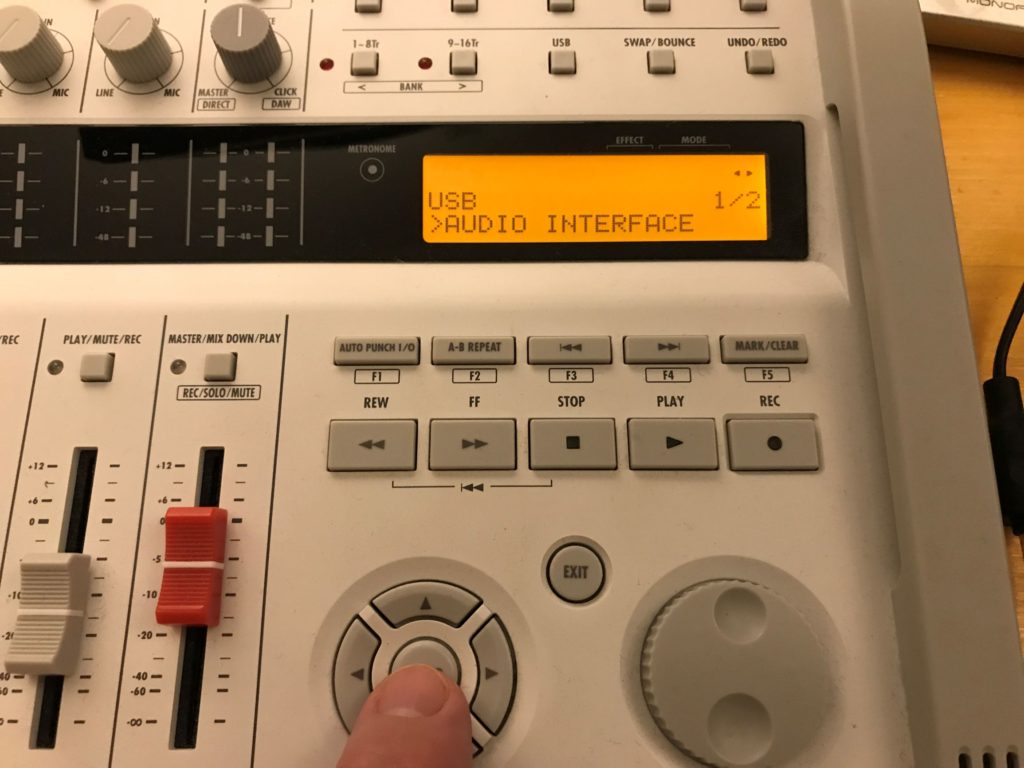
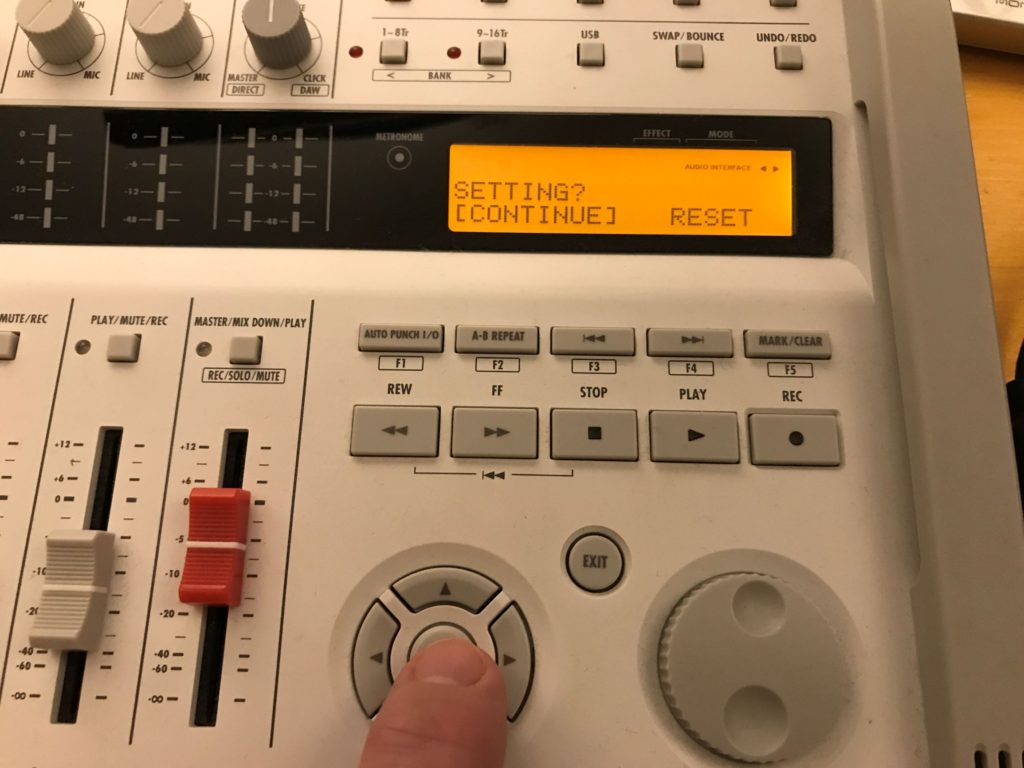
I couldn’t see the R16 in the devices list till I read this and realised I needed to press Enter a couple of times on the R16 to actually put it into Audio Interface mode. Thanks!
Hi John! I’m glad you found this post helpful. Thank you for letting me know. Enjoy your Zoom R16.